
I love wrapped loops! They’re all I use when I make jewellery. I think I like them so much because I’m not very good at making the rosary loop. I find the wrapped loop much easier to do, so it’s become my loop of choice.

Since this is one of the basic techniques in jewellery making, you’ll need your basic tools – round nose pliers, chain-nose (or flat-nose, either one will do the trick) pliers, and a cutter. You’ll also need beads and headpins or wire.


Once you’ve strung your beads, grasp the headpin just above your beads with your round-nose pliers. Bend the wire at a right angle.

Reposition the pliers to hold the portion of wire that has been bent. Fold the wire back to make a complete loop.

This is where I use my chain-nose (or flat-nose) pliers. Grasp the loop with the pliers and then wrap the free end of the headpin around itself. If the wire is more flexible, I wrap it with my hands. Otherwise, I use my round-nose pliers. Trim off any extra bit of wire and press the end flush against the wrapping with your pliers.
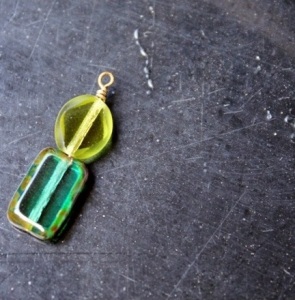
Your wrapped loop is done!
~ Kirtana
